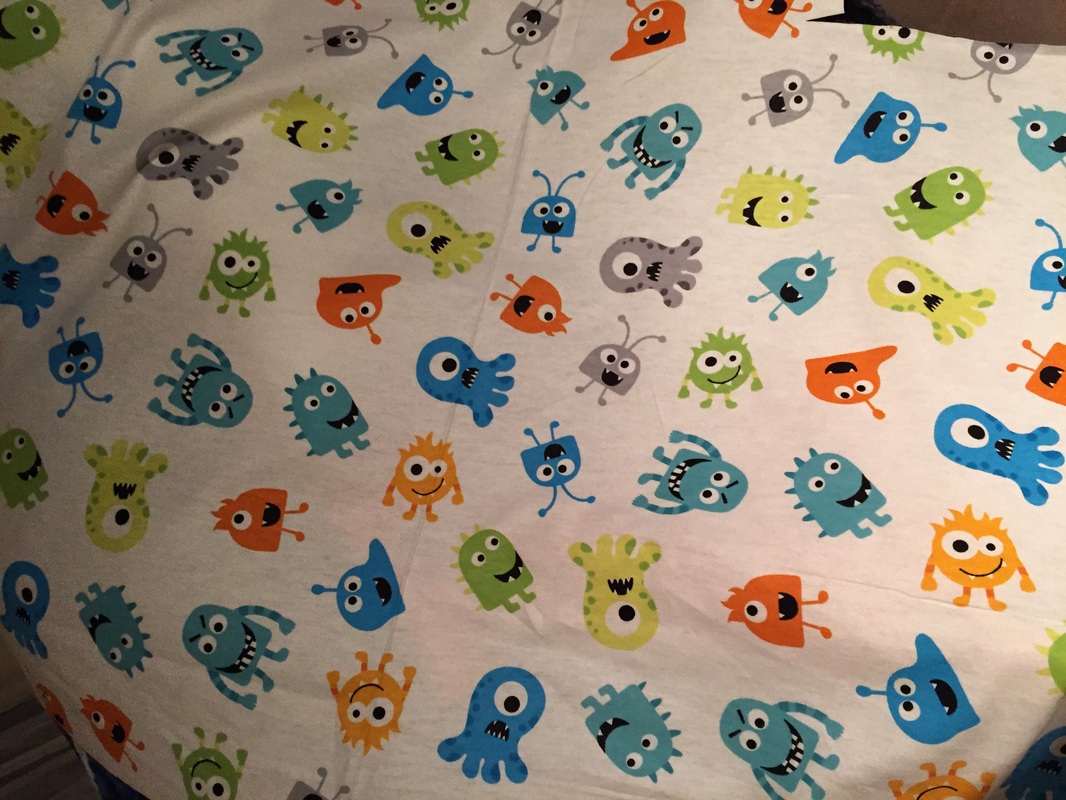
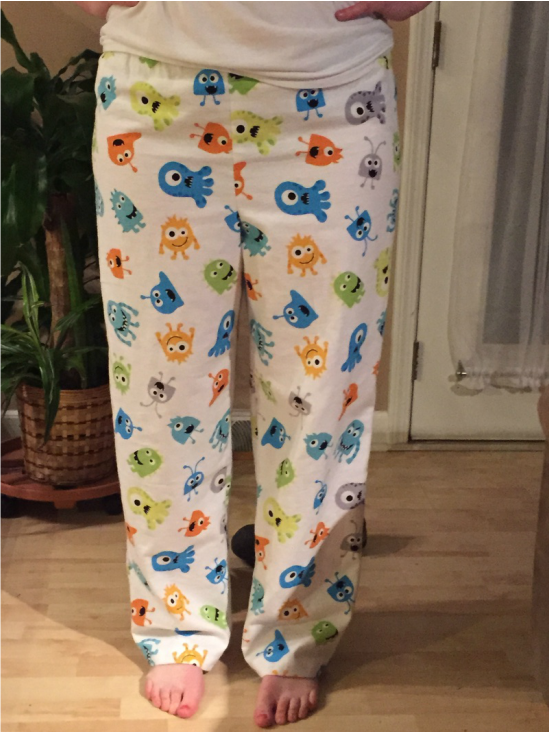
The first weekend of 2015 and I wanted to give myself a little bit of a challenge and do something I hadn't done in way too long. While at home for the holidays, I hijacked my sister's sewing machine and brought it back down south. My mom is a pretty amazing seamstress (exhibit A-my quilt-http://kphornerrd.weebly.com/home/its-always-better-when-mom-makes-it) and even made children's clothing for shops back in the day. I used to sew when I was younger, but haven't really done it for the past 10 years. I figured that I would dive right in and what better way than pajama pants! The boy and I picked out some fun flannel on sale and got started.
Now I did go with a pattern for a little more instruction, but mainly picked my mom's brain for the easiest way to make these.
Things You Need:
2 1/4 yards fabric of choice
1 inch elastic
Thread, sewing machine, etc.
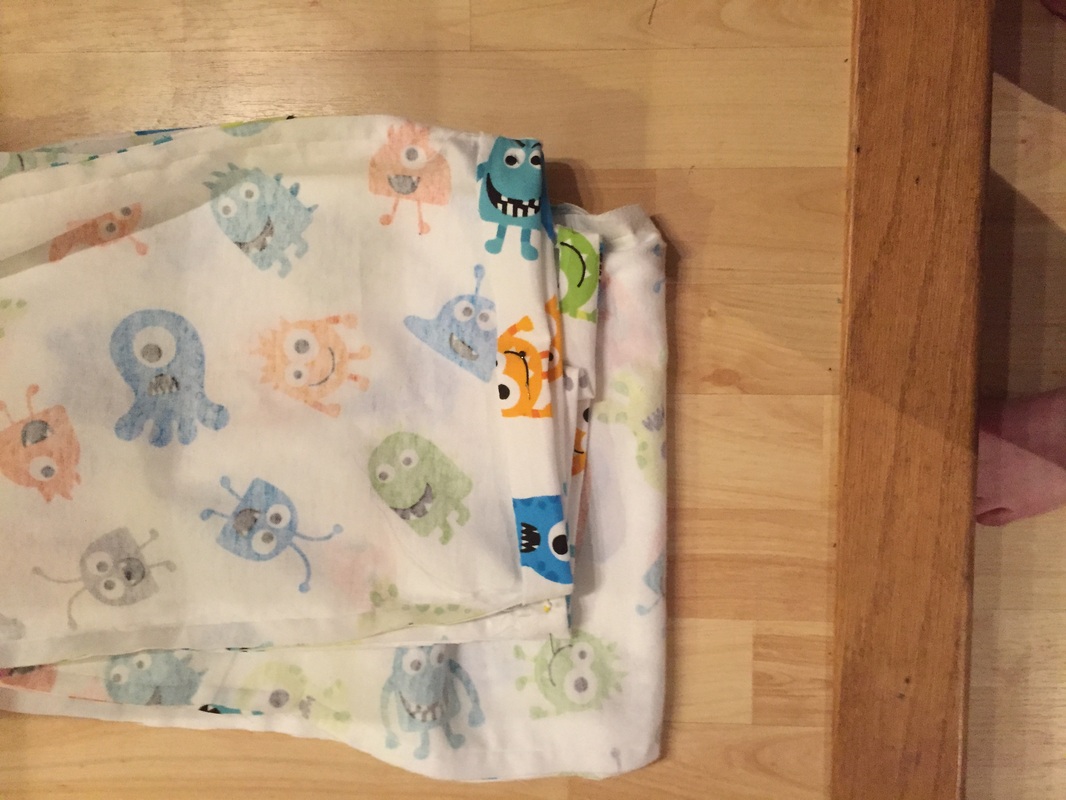
Step One: Pick an awesome print of flannel. This is obviously the most important part and I do believe the boy and I rocked this step.
Now I did go with a pattern for a little more instruction, but mainly picked my mom's brain for the easiest way to make these.
Things You Need:
2 1/4 yards fabric of choice
1 inch elastic
Thread, sewing machine, etc.
Step One: Pick an awesome print of flannel. This is obviously the most important part and I do believe the boy and I rocked this step.
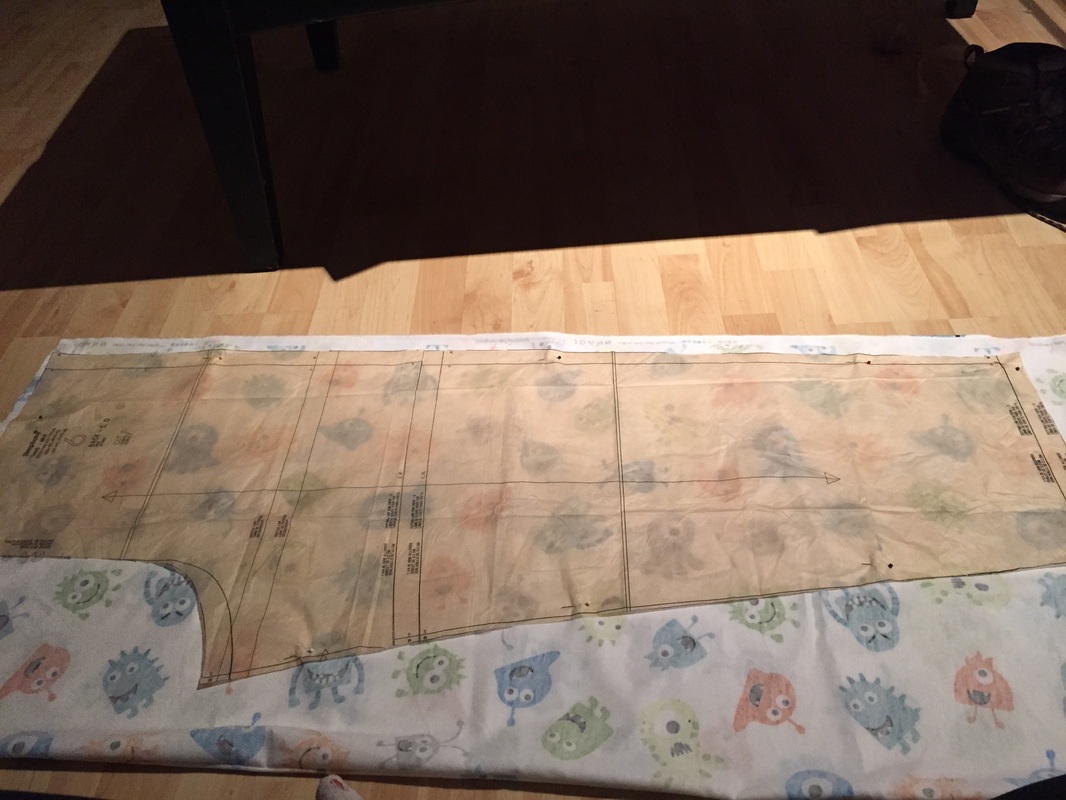
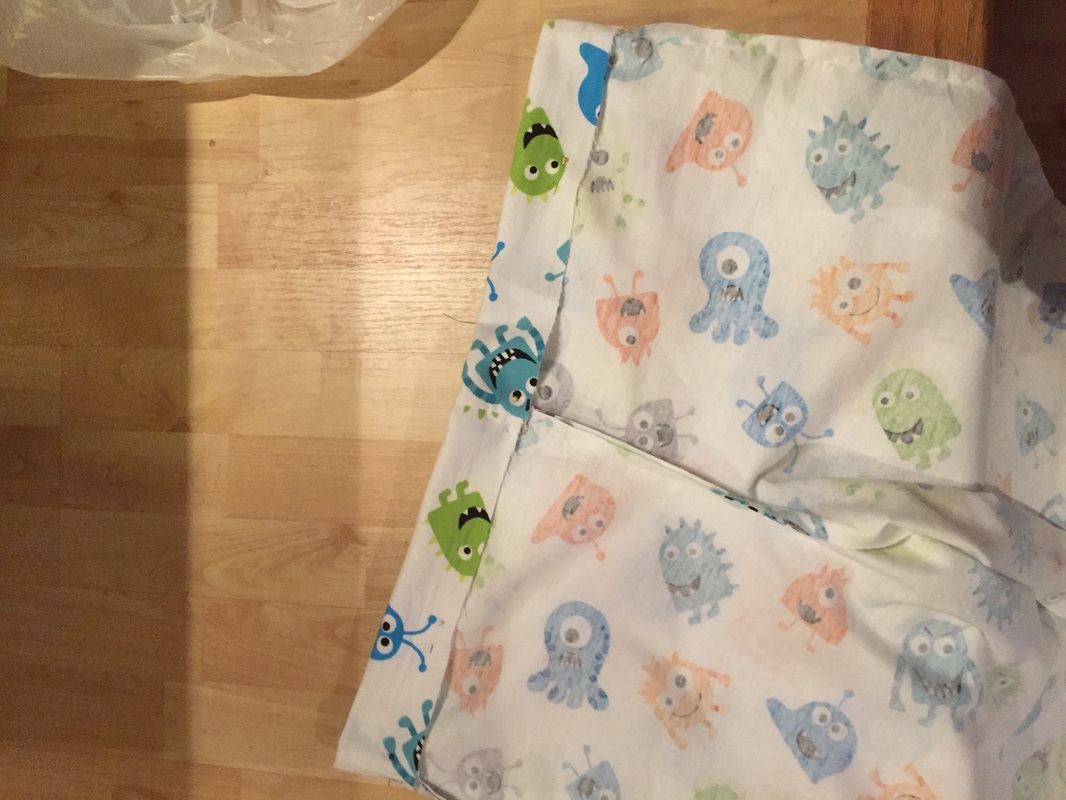
Step Two: Put the two right sides (the outside of the fabric) together and cut out your pattern. You can also make a pattern from another pair of pj pants you own.

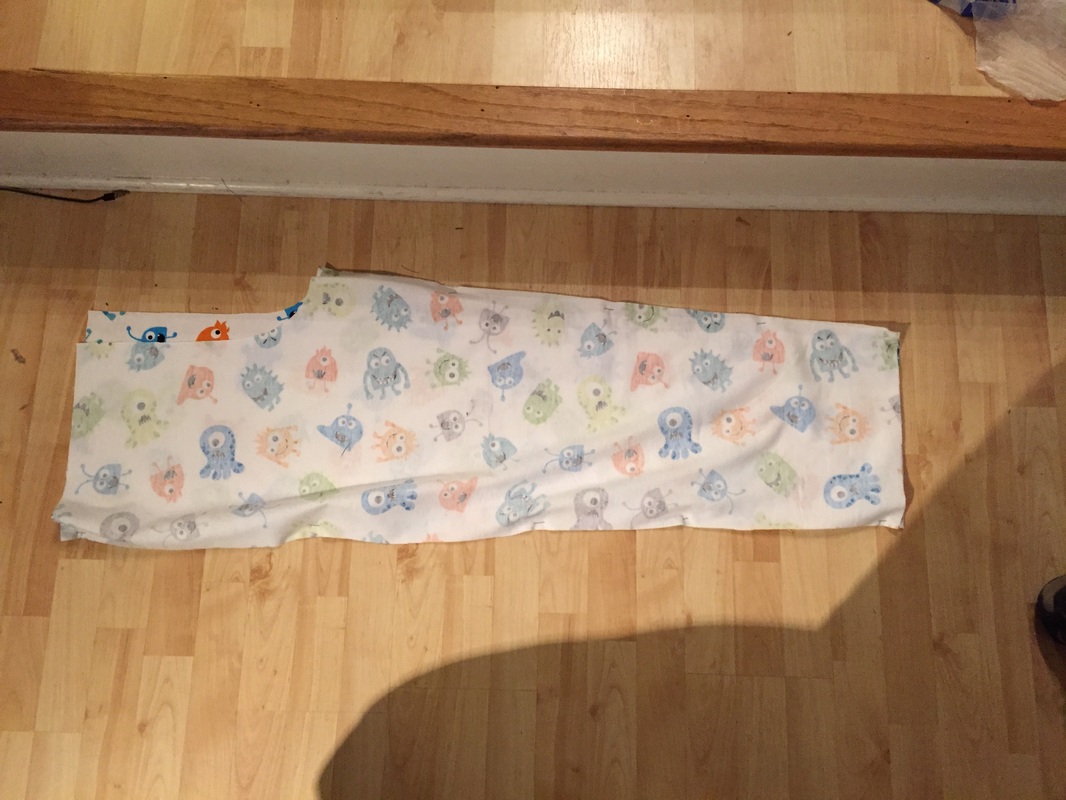
Step Three: Pin the right and left sides together. These will NOT match up evenly. This is because you have a tush behind you that needs a little bit more fabric. Sew the outside of the legs and the inside of the legs up to the crotch.
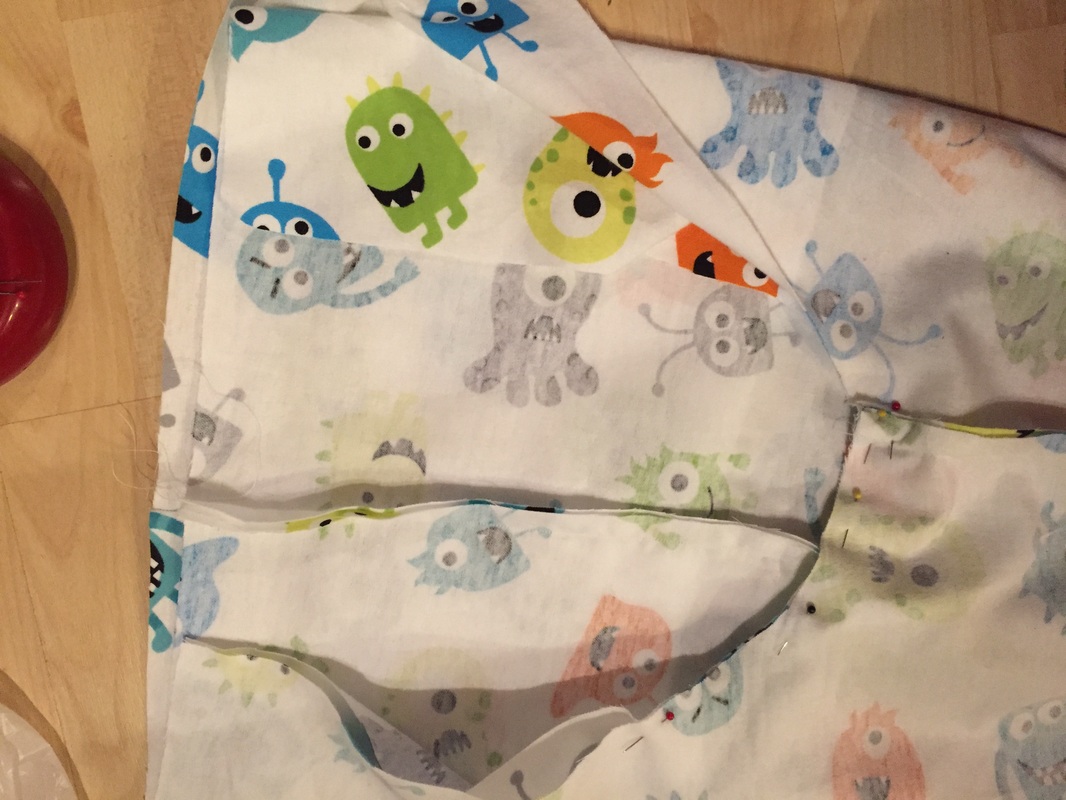
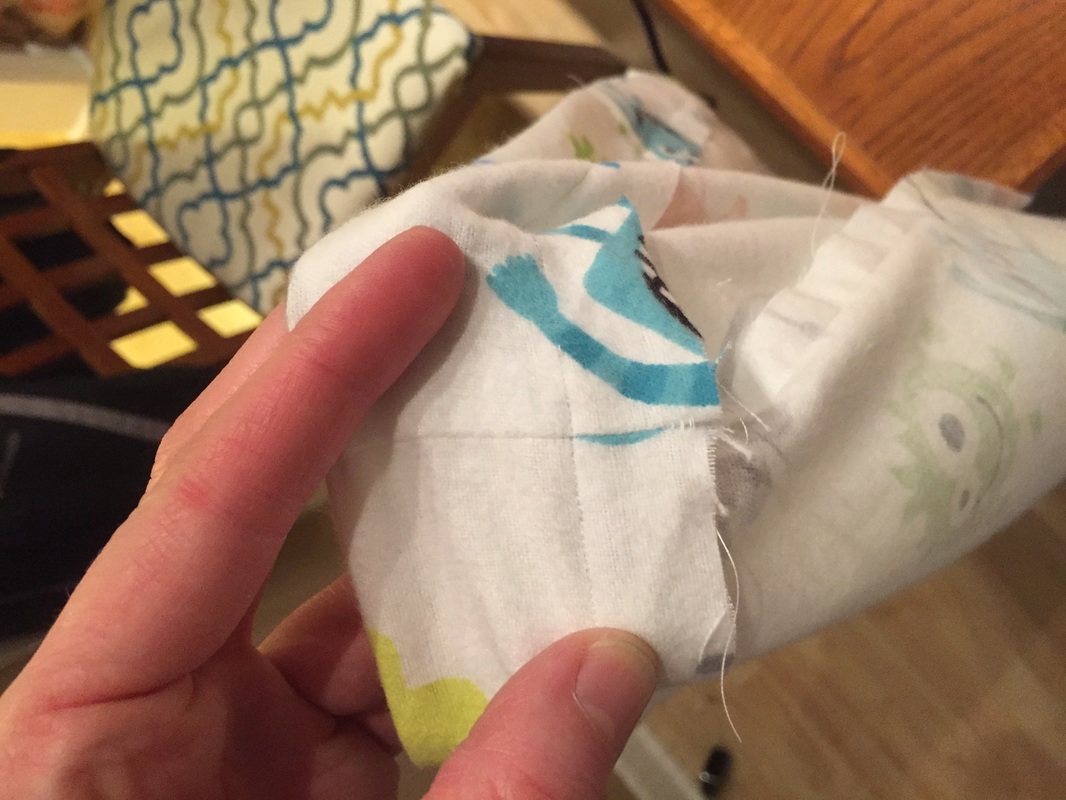
Step Four: This part gets a little tricky, but my mom gave me a hint which made it super super easy. Take one leg and turn it right side out. Fit that leg into the other leg (the one that is still inside out) and line up the crotch "U". Sew along the U.
Step Five: The hemming-I would suggest trying your pants on so you know how long they need to be. I'm taller so even though I cut the fabric longer, the hem on the legs still needed to be smaller. Pin and sew.
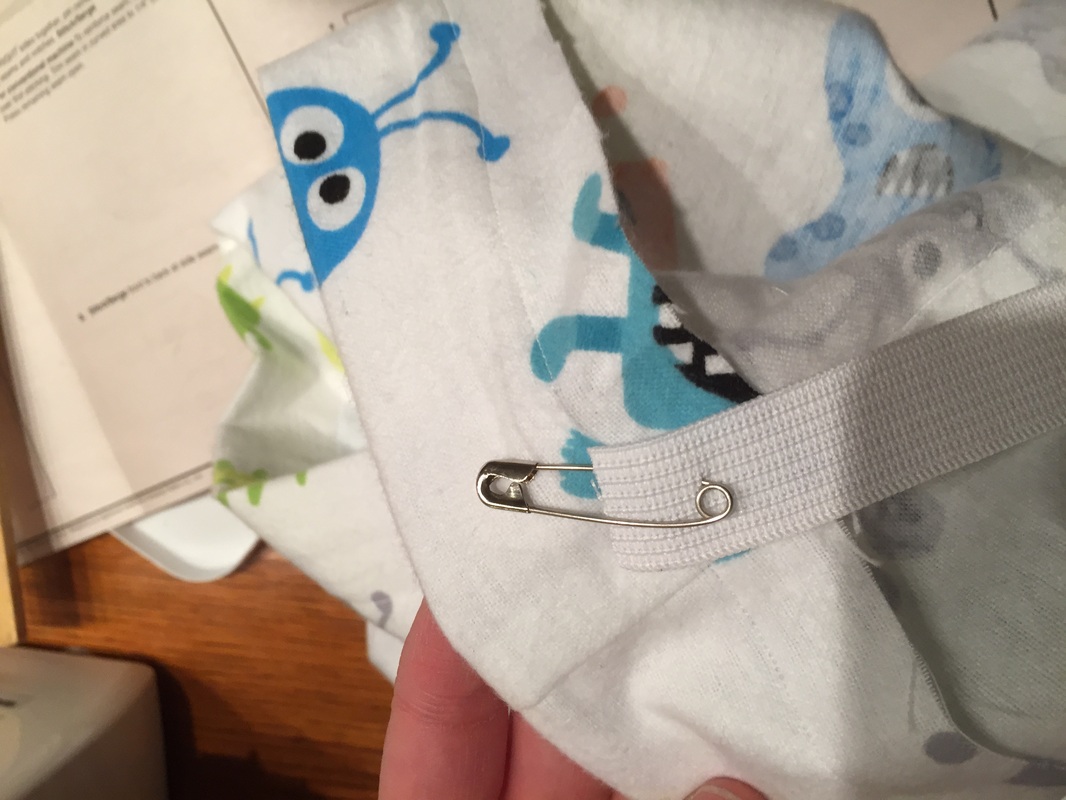
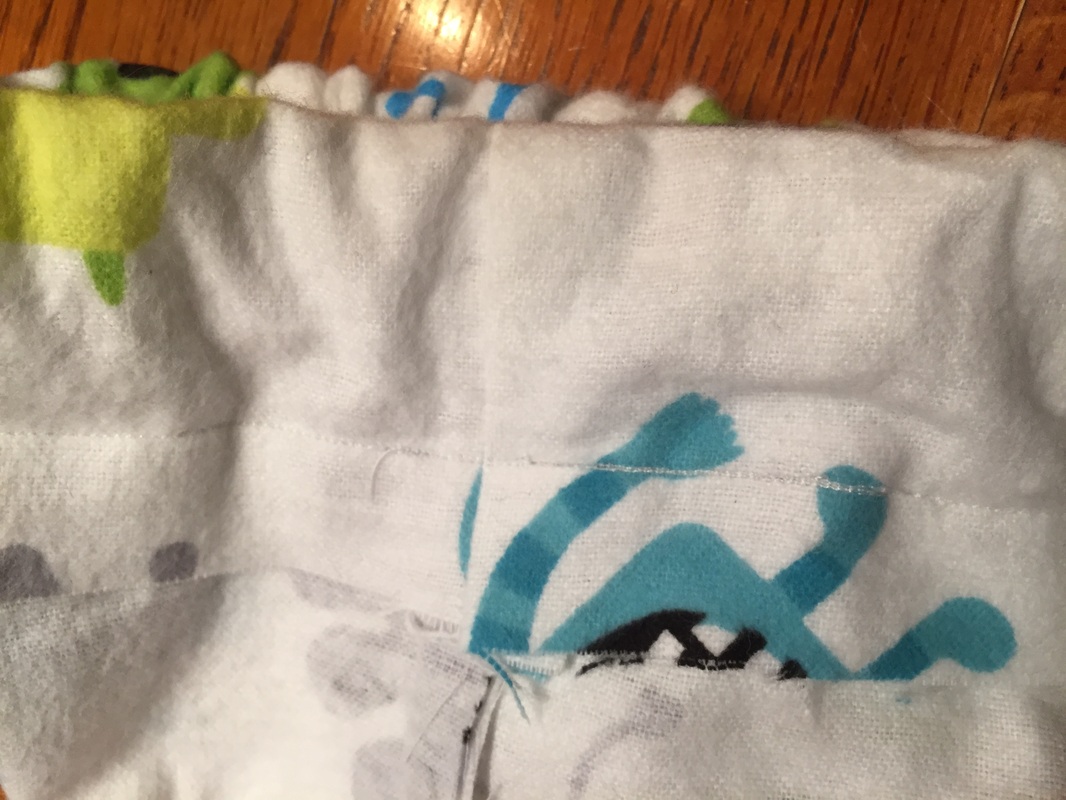
Step Six: Fold the top over (still with the pants being inside out) about 1.5-2 inches. Pin. Sew closed except for ~a 1 inch spot where you will insert the elastic. I typically like to have this spot around one of the side seams.
Step Seven: Take 1 inch elastic and feed it through the pants. I usually do this using a safety pin and wiggling it through. Once you have gone all the way around, try the pants on and pull the elastic to your desired tightness around your waist. Safety pin where the tightness is best.

Step Eight: Sew the elastic together and sew up the spot/hole in the fabric.

Step Nine: Turn right side out and voila! PJ Pants!
Happy first Monday of 2015!


 RSS Feed

